Interactive Zero Knowledge Proofs, which I will call IZKPs from now on because they could not have come up with a longer name, are quite the interesting animal. They are a way to prove we know solutions to equations, or more generally, to logical statements.
📓 We focus on a particular type of IZKP proof in this article. It’s better to have concrete examples when learning a new concept.
The example I will use throughout this article is the extremely complex one below, I should even give out prizes to people who figure out what \(x\) I know:
I know an \(x\) such that \(x + 1 = 2\)
The interesting part is that when using IZKPs, I don’t have to tell you what \(x\) is (for the record, it’s \(1\), \(1 + 1\) still \(2\)) to prove I know it. So in essence IZKPs (and in general ZKPs) allow me to convince you that in fact I do know something, without telling you what that something is, except if there’s only one “something” that satisfies the constraints and you can figure it out from the statement, but even then I didn’t tell you, you had to figure it out.
Of course, in this simple case you can just solve the equation for yourself without thinking much even if I don’t tell you the \(x\) I have in mind, but if we use a more complex equation with more variables and/or more solutions, solving it will not be simple. This is interesting because it means ZKPs are mostly only useful for problems where there’s no alternative efficient way of figuring out the solution you are hiding.
The cryptography people like to call that \(x\) the “witness” because… I guess we like to feel like detectives? 🧐
But How?
The idea is very simple, actually. Under the hood, even equations such as the one above can be represented in a way where they have multiple (equivalent) solutions.
Then I choose a solution randomly, but I spread it across a bunch of boxes and put locks on them. I allow you to ask for the keys of a single box (randomly selected too) and look at that step. We repeat this process as many times as you like: choose a random solution, spread in boxes, give a key. If I don’t know the full solution, you will eventually ask for the keys to a step that doesn’t make sense and catch me. If I do in fact know the full solution, any box that you open will have a step that makes sense and you will become increasingly convinced that I do in fact know the solution.
But… won’t you learn the full solution after asking for keys many times? No! Because I always switch up to another random solution, and you don’t know which is which so to you even thought the steps are consistent, they have random (consistent) data every time you check and you learn nothing. In other words, you will see all possible values in all possible steps after asking many times and thus learn nothing 🤯
Now, onwards to the actual actuality actualness mathy insides of it!! 🐎
The Steps
There are several steps to IZKPs, and many different IZKP strategies. I will give the steps for one of them. The first step is to get your cute little equation and butcher it into a logical boolean circuit. Luckily, hardware designers are specialists at doing that and have everything figured out. So for example, given our equation:
\[x + 1 = 2\]
We first want to convert it to binary notation because as everyone knows, computers hate decimal:
\[x + 1 = 10\]
“Beautiful!” - said the computer.
The Butchering
Now we need to actually butcher it, by which I mean convert to the equivalent boolean thingy. How do we add two numbers using only boolean operations such as not, and, or etc?
Turns out there’s something called a half-adder which does exactly that, given \(a, b\) and provided both \(a\) and \(b\) are between \(0\) and \(1\), inclusive (i.e.: bits), it computes \(c = a + b\), where \(c\) is at most \(2\).

👆️ \(c_0\) is the least significant bit of \(c\) and \(c_1\) the most (it has 2 bits since it can be at most 2). If you have no idea what those symbols mean, check the Wikipedia page on logic gates.
Now, in a notation a bit more familiar to the crab people, commonly referred to as Rust programmers:
c0 = (a || b) && !(a && b); // XOR(a, b)
c1 = a && b;
This is how we add two bits using only standard boolean operations, great! Now, how do we make a single expression that evaluates to true only if \(c = 2\)? We need to make sure \(c_0 = 0\) and \(c_1 = 1\), or in other words:
c_is_2 = !c0 && c1;
Which means \(c_1\) must be \(1\) (true), \(c_0\) must be \(0\) (false) so \(c = (c_1, c_0) = (1, 0) = 10\) which is 2 in binary.
Now, plugging in the values for \(a\) and \(b\) from our original equation,
which are \(x\) and \(1\) (\(1\) goes in as true):
c0 = (x || true) && !(x && true);
c1 = x && true;
c_is_2 = !c0 && c1;
We can simplify a bit because anything || true is true and anything && true is the thing itself:
// Simplifying...
c0 = true && !x;
c1 = x;
c_is_2 = !c0 && c1;

// Symplifying further...
c0 = !x;
c1 = x;
c_is_2 = !c0 && c1;

// Merging all together...
c_is_2 = !(!x) && x;
// ...
c_is_2 = x && x;
// Finally, something and itself is itself, so:
c_is_2 = x;
So what does this tells us? That if in our equation \(x + 1 = 2\), we set \(x = 1\) (true), then the result is \(2\) and the equation is true. Otherwise, the equation is not true. Great, it checks out with our math.
Onwards!
PAINT⁉️ your boolean mumbo-jumbo
(´⊙ω⊙`) what? Paint?
Yes.
There’s a famous problem in math called the 3-coloring of planar graphs, which essentially asks you to pick up 3 colors and go paint geographic maps of the world making sure countries which share a boundary don’t have the same color. Similarly, 3-colorability of a map is the question of if you can colour a map that way. In general this is called graph coloring.
And then, there’s a simple algorithm that you can use to convert things like the boolean expression we derived previously (either just \(x\) or the original one) and convert it into a map. If there’s a value that makes the expression evaluate to true, then there’s a way to color the generated map with just three colors. If there isn’t a value that makes the expression evaluate to true, then you can’t color the map with just three colors (and no “countries” with the same color adjacent to one another).

Also, maps can be converted to graphs in a straightforward way: take each country and make it a vertex in the output graph, then connect adjacent countries.
Building the Graph (or Map)
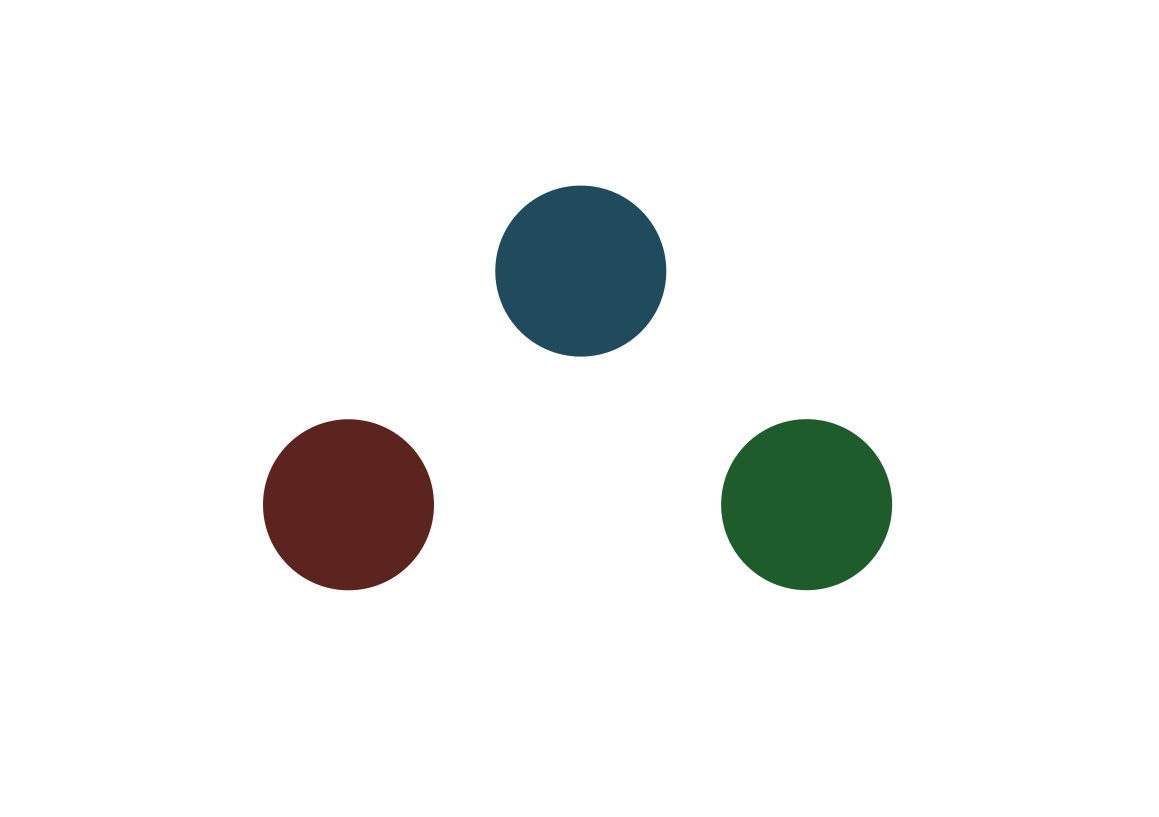
The first step in converting any boolean expression into a graph is to create something called a palette, which is a little gadget, a little piece of a graph, connected as below:

This makes it so that each one of the vertices in the graph has to take a different color since there are only three of them and we cannot use the same one twice without making adjacent vertices have the same color. Notice that we can color it in different ways if we swap the positions of colors, for example: red becomes blue and blue becomes red.
The next step is to arbitrarily label the vertices with true, false and a
secret third thing (called “ground” or “neutral”), for example:

Now for the genius idea: if we add another node to our graph, and call it
\(x\), we can connect it in such a way that forces it to have the same color
as the true label! 🤯
See:

The only way to paint this graph with only three colors and having no connected
vertices with the same color is to assign to \(x\) the same color we use for
true.
This is how you translate the boolean expression into a colorable graph! You label your initial triangle of vertices and add vertices for each variable in the expression. Finally, you connect your variables between themselves and the palette in such a way that forces each variable to have the exact same behaviour it would in the expression and assume the color corresponding to the label matching the value in the expression.
Great, now we have a little four node graph that represents our initial \(x + 1 = 2\) statement. What shall we do with it?
I present you: The Prover and the Verifier
The proving process itself is a protocol that dictates the interaction between two… entities. In reality those are two programs communicating with each other, but mathematicians and computer scientists usually introduce them as two people talking to each other, or in more formal settings, Turing machines. The prover is usually called \(P\) and the verifier \(V\).

The core insight here is that the goal of the prover is to show to the verifier that it was able to fully color a graph with only three colors, but without showing which colors it used, only that every two adjacent vertices in the graph are actually filled with two different colors.
If it can show that, it means that the boolean circuit which is equivalent to
whatever graph was chosen is also proven to have a set of variables that make
the result true. And if that’s proven, the equation used to generate that
circuit is also proven to have a solution!
It goes something like this:

Hashing Colors
You might be left wondering what do I mean by hashing colors in the diagram above. The idea is to represent colors as such:
enum Color {
    Red, Green, Blue
}
then we can simply convert that enumeration to a byte and put that byte inside a
byte string, i.e.: Red = [0], Green = [1], etc:
fn hash_color(color: Color) -> Hash {
    some_hash_function([(color as u8)])
}
Why Hashing?
The goal of using hashing is making sure two things happen:
- The prover commits to a coloring and cannot change it later: hashes are deterministic and finding a second input value that generates the same output value is computationally hard, so the only way of generating the hashes is by choosing a set of input values. Once the hash is sent, another set of input values which produces the same hash cannot be found.
- The verifier can check the commitments: once the prover reveals the input values for two vertices, the verifier can run the hash function on the values for those vertices and compare with the previously shared commitment. If they are equal, either the prover found another set of input values which produces the same result (computationally infeasible), or the prover revealed the previously commited values correctly.
Hence, the value \(h_n\) of the \(n\)-th node sent from the prover \(P\) to the verifier \(V\), provided \(H(x)\) is a one-way hash function, is given by:
\[ h_n = H(C_nS_n) \]
where \(C_n\) is the byte sequence representing the color of the \(n\)-th vertex, and \(S_n\) a random byte sequence generated uniquely for that vertex. \(C_nS_n\) represents both byte strings concatenated.
This begs the question, since \(H(x)\) is a one way function, can’t we simply do:
\[ h_n = H(C_n) \]
meaning, send the hashes of the colors? Why do we need an extra random byte string \(S_n\) concatenated? There should be no way of getting the color from the hash, because that would mean we can invert the function and as such it isn’t one way anymore:
\[ C_n \stackrel{?}{=} H^{-1}(V_n) \]
But it’s actually possible to invert the function under these conditions, because we only have three colors, which means only three hashes. So once the prover revealed two vertices, we would know the hashes for those two colors, and since there are only three colors, the remaining one would be the one used by the third color. This leaks the full coloring and as such cannot be used.
The introduction of a random number in the hashing process makes sure every hash is different and there’s no way for the verifier to know which colors were used in all the vertices, even after getting information about two of them.
In Rust:
impl Commitable for Color {
    // Take in the color, return a commitment
    // for it, i.e.: a hash
    fn commit(&self) -> Commitment {
        // Initialize a RNG from actual
        // random bytes
        let mut rng = ChaCha12Rng::from_entropy();
        // Generate a random byte string
        let mut secret: [u8; 32] = [0; 32];
        rng.fill_bytes(&mut secret);

        // Hash and generate a commitment
        Commitment {
            secret,
            hash: digest(
                Algorithm::SHA256,
                &[&[(*self as u8)], &secret as &[u8]].concat(),
            ),
        }
    }
}
Representing Graphs in Rust
There’s a lot of discussion around the best ways to represent graphs in Rust. This StackOverflow Question provides a good introduction and points to a couple blog posts from the language designers.
We are going to use the following structure, to keep things simple:
pub type VertexIndex = usize;

pub struct Vertex<T> {
    contents: Option<T>,
    adjacent: Vec<VertexIndex>,
}

pub struct Graph<T> {
    vertices: Vec<Vertex<T>>,
}
At the top level we have a list of Vec<Vertex>. Inside each vertex we
(optionally) the contents of type T and a list of indexes of adjacent vertices Vec<VertexIndex>.
Coding the Prover
Now that we know how to create commitments, represent colors and construct graphs, we should be able to code the high level flow of the prover:
fn prover() {
    let statement: Graph<Color> = build_graph();
    let mut verifier = Verifier::new();

    while matches!(verifier.result, Result::Undecided) {
        // 1. Create a random coloring
        // 2. Send commitment to the verifier
        // 3. Verifier asks for the colors of two
        //    adjacent vertices
        // 4. We send those colors back
    }

    // Show the final result
    println!(
        "The verifier deems the proof {} and is {:.4}% convinced.",
        verifier.result,
        verifier.confidence * 100.0
    );
}
To create a random colouring, we can iterate over an input colouring and change each of the colors to a new one according to a random mapping that translates each color into a different one (or the same).
impl Graph<Color> {
    pub fn random_permutation(&self) -> Graph<Color> {
        let mut random_g: Graph<Color> = self.clone();
        let mapping: ColorToColorMap = ColorToColorMap::new_random();

        for mut vertex in &mut random_g.vertices {
            vertex.contents = mapping.from(&vertex.contents);
        }

        random_g
    }
}
ColorToColorMap can in turn
be implemented as:
struct ColorToColorMap {
    colors: [Color; 3],
}

impl ColorToColorMap {
    fn new_random() -> ColorToColorMap {
        let mut random_map = ColorToColorMap {
            colors: [Color::Red, Color::Green, Color::Blue],
        };

        // Randomly choose a coloring
        let mut rng = ChaCha20Rng::from_entropy();
        random_map.colors.shuffle(&mut rng);

        random_map
    }

    fn from(&self, optional_color: &Option<Color>) -> Option<Color> {
        optional_color
            .as_ref()
            .map(|color| self.colors[*color as usize].clone())
    }
}
In other words, an array indexed with the three available colors, Color::Red, Color::Green, Color::Blue, in which each element points to
a new color that can be either the same one or a different one.
Furthermore, the maps are constructed randomly by shuffling the three colors in the array, which makes sure each color appears only once and all the colors are there.
Coding the Verifier
The verifier has two jobs to do:
- Choose a random edge in the given commitment and ask for the colors from the prover.
- Verify the commitment for the edge matches the given colors, and that the colors are different.
Which can be translated to:
impl Verifier {
    pub fn choose_random_vertices(
        &mut self,
        commitment: Graph<ZKCommitment>,
    ) -> Option<(VertexIndex, VertexIndex)> {
        // Choose a random edge
    }

    pub fn verify_coloring(
        &mut self,
        color_a: Color,
        salt_a: &Secret,
        color_b: Color,
        salt_b: &Secret,
    ) {
        // Check if the colors match the latest commitment
        // If so, increase confidence
        // Otherwise, reject the proof
    }
}
Running
Moment of truth! Lets see if this thing works!
❯ cargo run
Compiling izkp v0.1.0 (/home/felipe/Development/izkp)
    Finished dev [unoptimized + debuginfo] target(s) in 0.29s
    Running `target/debug/izkp`
Verifier asked for vertices Some((2, 1))
Prover shared colors (Green, Blue)
Shared colors match the hashed & salted pre-commitment!
...
Verifier asked for vertices Some((0, 1))
Prover shared colors (Red, Green)
Shared colors match the hashed & salted pre-commitment!
Verifier asked for vertices Some((1, 0))
Prover shared colors (Green, Blue)
Shared colors match the hashed & salted pre-commitment!
Verifier asked for vertices Some((0, 1))
Prover shared colors (Green, Blue)
Shared colors match the hashed & salted pre-commitment!
Verifier asked for vertices Some((3, 1))
Prover shared colors (Green, Blue)
Shared colors match the hashed & salted pre-commitment!
The verifier deems the proof accepted and is 99.9925% convinced.
❯
And there you have it! The prover is able to convince the verifier to 99.99% certainty after a few iterations, making a strong argument it actually knows a solution to the equation.